Sunday, July 22, 2012

I'm Back!

   Well, I completely dropped off the face of the earth blogwise.  But, not because I haven't been busy...
   Yesterday as I was working on my second version of the Sorbetto pattern from Collette I realized that if I go back to documenting sewing things it will be much easier to make second and third versions of items 'cause I can refer to the posts to review what worked and what didn't.

 It is mid summer and my gardens are doing well.
   I haven't taken many pictures of my vegetable gardens but here are a couple of my favorite day lilies.  My mom has a huge collection and I'm trying to enlarge mine through her generosity.
          One of my goals for this year was to keep exercising over the summer.  So, I forced the issue and signed up for a sprint triathlon in early September.  My goal is solely to finish.  I'm trying to bike and swim a couple of times a week and am struggling with finding my inner runner(I'm not sure she exists).
     Every week I try to find a little time to sew and at this point I've made enough items that some of them have worked their way into my clothing circulation.  I don't have a lot of pictures but I'll take care of that in the future.
      Now I'm going to go out and enjoy this beautiful day!
   

Monday, January 30, 2012

Finished Meringue Skirt for Sew-along

   I finished the official version of the Meringue Skirt for the Colette Sew-along yesterday but the pictures were so awful and made me look like a hippo so I didn't post.  My husband retook them today and this is the only passable shot.  A piece of my head is still missing and it is still off focus but here is the best one.


I like how it turned out - the fit is perfect.  It is three inches longer than my wearable muslin hitting me right below the knees.  Because I was worried about the bulk of the denim I made the facing out of a piece of red cotton which adds some secret pizzazz.    
I don't know if you can tell in this picture but after my failure with the invisible zipper on the muslin I wussed out and attempted a lapped zipper instead.  I used the directions from the Threads Sew Guide which I borrowed from my library.  This worked well but that meant that the instructions for the facing didn't work and I had to go to plan B for them.  It worked out in the end but I spent quite a bit of quality time with my seam ripper.  
     This skirt will definitely get worn and I learned a lot.
      The Threads Sew Guide has already been added to my Amazon wish list and I highly recommend it.  It is a great reference.
Bottom line is I'm glad I joined this sew-along and I look forward to the next project!


Saturday, January 21, 2012

Meringue Skirt #1

        I was happy to receive the Colette Sewing Handbook for Christmas.  And, even happier when I read on Coletterie that  Erin of Miss Crayola Creepy and Sarah from Rhinestones and Telephones were doing a sew along.   It is a nice slow pace  - one design per month, even I should be able to keep up with that.  I really want to learn how to sew garments correctly and with patience.  This group should be a great opportunity to learn from others.  This will be my first sew along and I'm excited to be part of it.
       Project #1 is the Meringue Skirt.  The Meringue is fairly straightforward narrowish skirt that has a cute scalloped hem.  We were supposed to start with a muslin but I had some inexpensive yardage from Fabric Mart and wanted to make something that hopefully I can wear in the future.  I cut the size 12, taking about 1.5 inches off the length (mistake) as most patterns are long on me.  It sewed up quickly.  While the facing instructions seemed odd to me they worked perfectly and I learned a new technique.  I struggled a bit with the invisible zipper (its not invisible at the bottom) but I think that is because I don't have the invisible zipper foot for my machine.
 It looks pretty good from the back.
Strangely it is a bit tight across my belly but still a bit wide across the hips.  I'm thinking I might increase the waist by a tiny bit and decrease the hips.  I also think it is too short (my husband disagrees).  It should be wearable in the summer or maybe with tights in the fall.
My next version will be in denim.  I will make that 2.5 inches longer.

I am proud of how well the scallops turned out -
that was a new technique for me.

Also this was the first time I used the catchstitch to sew in a facing/hem.  I'm quite pleased with that too.  You can barely see the stitches when you look closely at the front.

Bottom line  - already I'm learning lots from both the book and from being part of this group.  I love how supportive and helpful the sewing community is in general.

Tuesday, January 17, 2012

To Infinity and Beyond

     So many blogs recently have featured infinity scarfs.  There are knitted ones, ones made out of polar fleece, single loop ones, really wide ones - an almost infinite variety.  I ended up with a heavy knitted one at our work Yankee Swap and have been thinking a lighter less bulky one would be nice.  Yesterday at Joann's I spotted some lace remnants and a sort of low pile furry white knit and thought why not.  They were 70% off so for a few dollars and a couple of hours I now have two infinity scarfs.
     I used this tutorial from Sweet Verbena http://sweet-verbena.blogspot.com/2011/10/single-loop-lace-infinity-scarf.html as guidance.  Her scarf was only a single loop though and I knew I wanted mine longer.  I also didn't want it to be quite as wide.  So for length I just used the full width of the knit fabric - about 60 inches.  For width I made it 10 inches wide.  For everything else, I followed her directions and ended up with this.

The red lace is fairly open so a light of the white backing shows through but you can adjust the scarf to display either more or less of the red.
  The width and length are exactly what I was hoping.
  It does look a little Christmas y.  I wish had made it last month - it would be
a perfect accessory for the black sweater dress I wore to a holiday party.


However, I noticed that with the open work lace you could really see the messy inner seams if you looked closely.
  I started the Crafty Diane Rupp online sewing course a couple of weeks ago and learned how to make french seams.  This made me wonder if I could make a scarf with French Seams.
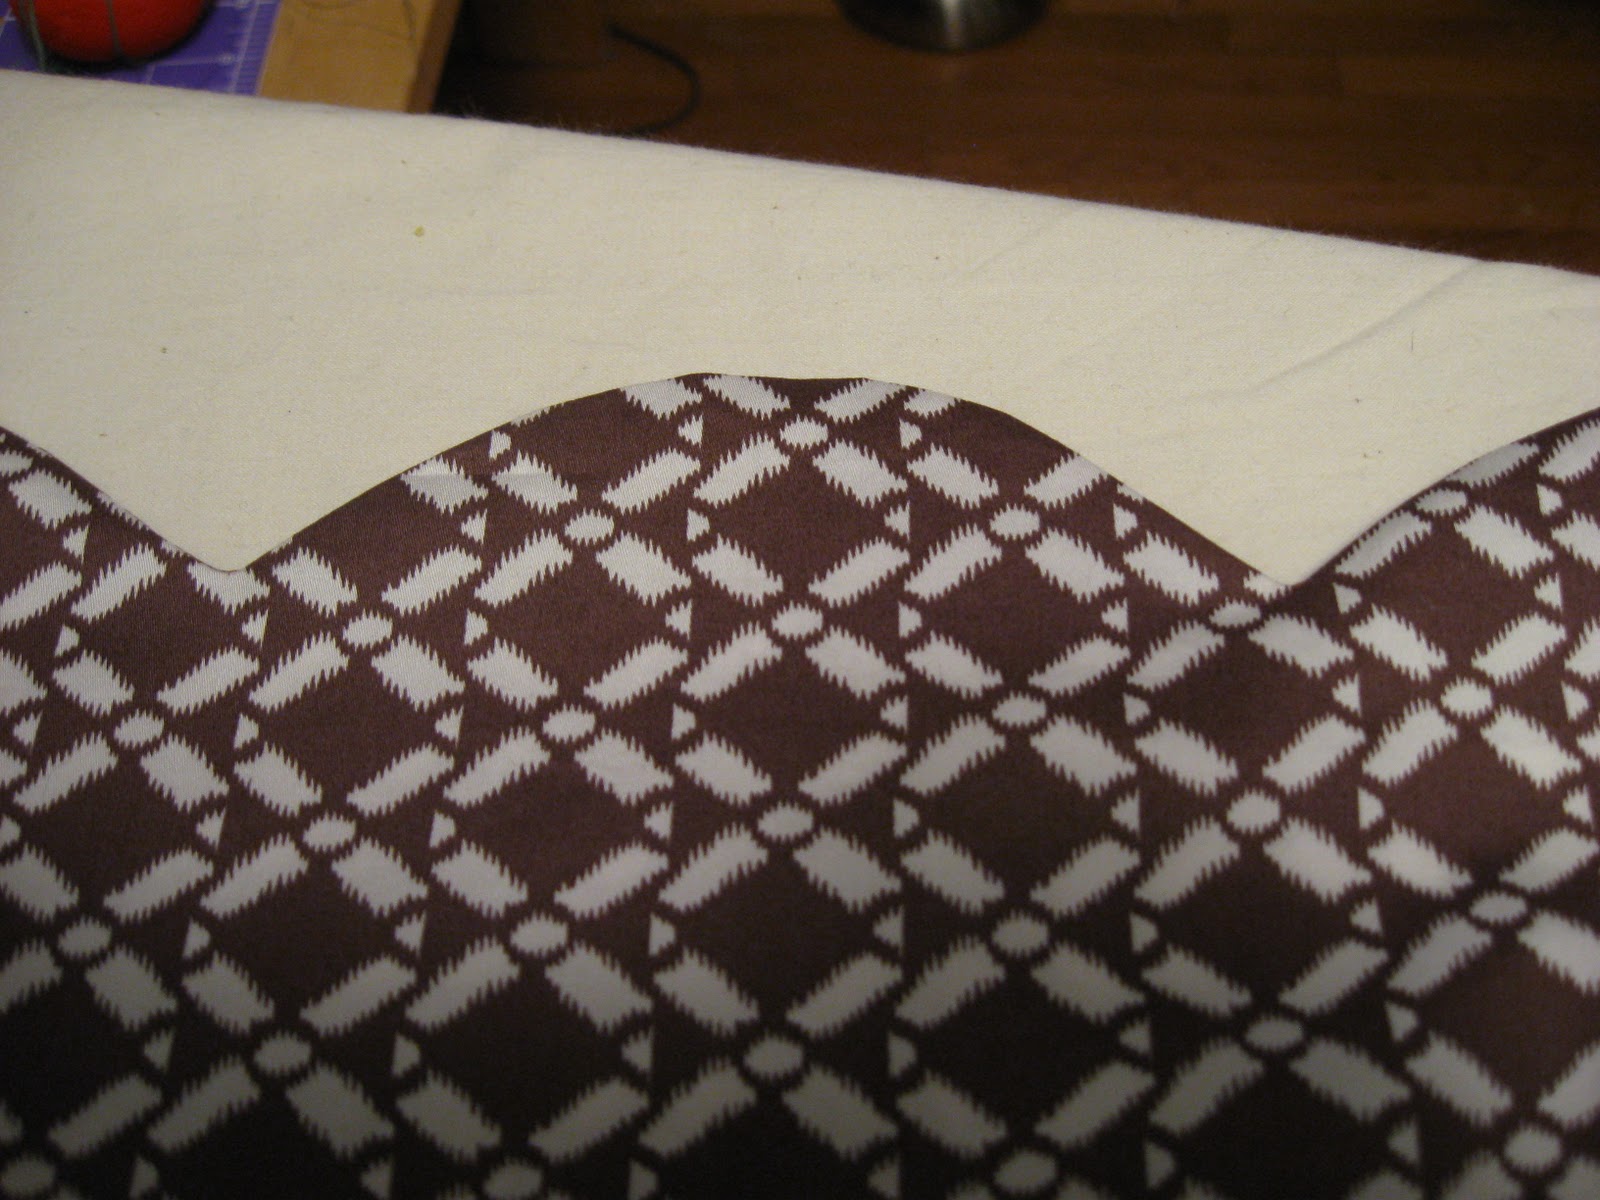
   My second piece of lace was not as long so I had to piece it together to get a 60 inch piece, but other than that I kept all the measurements the same.  Instead of doing the first seams right sides together I matched them up wrong sides together (or how the completed scarf would look).  I then sewed a quarter inch seam down both long sides in a medium zig zag stitch as the base fabric is knit.  Then I turned the scarf inside out and carefully sewed a second seam a little wider than a 1/4 inch making sure to roll the previous seam to the outside edge.
That way all the messiness was on the inside of the closed seam.  In retrospect it would have looked even better if I had used white thread in my bobbin but I was more concerned with matching the green lace.  I then turned the whole thing right side out again and sewed the short ends of the green lace together matching right side to right side.  Then you sort of turn it inside out again.  It doesn't need to be turned all the way - just enough so you can sew all but the last few inches of the right sides of the knit material together.  Then pull everything back through the gap, slip stitch the opening and voila! A very neat infinity scarf.
Because of the heavier lace this one has a more solid appearance.  I'm really pleased with both and wish I had tried this before the holidays.  These will make great gifts and I'm already mentally going through different fabric and color combinations
Despite the french seams the second scarf is the same width as the first because I used a narrower seam allowance.
A definite instant gratification project!

Monday, January 16, 2012

Best Chewy Molasses Cookies Ever!

       My DH is a chef but in our household I do most of the baking (with the exception of cinnamon rolls) as I have the bigger sweet tooth and a secret weapon  - my grandmother's recipes.  When I bake cookies I usually make family favorites that have been made in our family for many decades but when I saw this recipe on the King Arthur Blog I had to try it.
        They call them Cape Cod Soft Molasses Cookies.  I call them The Best Chewy Molasses Cookies Ever.  
        The recipe intrigued me because it uses crystallized ginger.  I love the spicy sweetness of crystallized ginger and will eat it plain.  This recipe called for finely chopping it and adding it to a batter that includes some oatmeal as well.  I was hooked.  
         I pretty much followed the recipe:  http://www.kingarthurflour.com/recipes/cape-cod-soft-molasses-cookies-recipe .  I was out of allspice so I used a teaspoon of Penzey's baking spice.  No fresh ginger in the house either so used powdered ginger.  And, because I love vanilla I added just a dash.  The cookies turned out perfect!  Just the right amount of chewy satisfaction with a spicy kick.  Two days later they still taste as good as they did out of the oven.  Best of all it took under an hour to mix these and back them and clean the kitchen.  
          My pictures are not too good but the cookies rock!  Might compete for time in the baking rotation with Grammy B's extra thin ginger snaps...  Try them.


Sunday, January 8, 2012

Attempting to sew with knits


 Flush with the success of my lounging pants (which I have already worn several evenings) I decided to attempt a simple knit skirt.
  Leanne Barlow at http://elleapparel.blogspot.com/ always looks like a professional model in her homemade clothes so I decided to try one of her tutorials.  I had a cute cheap knit with strips so I thought I would make her Socialite Skirt.  It looks quick, simple and comfy.  The trouble began as soon as I tried to lay out the knit for cutting.  It took forever to get it lined up and flat.  I painstakingly matched up the strips but after cutting learned I was only semi successful.  It will be a while before I try something with tiny stripes again.  Then, I started to make the pleats.  The knit would not cooperate!  Finally I ironed on some interfacing to the top part and that helped with the pleats.  Bottom line  - a skirt I thought would take an hour or two took a half dozen and at the end I didn't even hem it because I was so frustrated.  Leanne's instructions were clear  - the issues were all created by me.
 So, one would think after that I would shy away from knits for at least 24 hours right?  Well, no.  I really need some shirts and I love cowl necks so I decided to make McCall's 6241 out of a black and white animal print.  Before I even cut it my husband said I would never wear it  - should have listened.  It cut easier and fitted easier than the other knit.  But, the semi finished top was HUGE!!  I went with my measurements but it would have fit someone 50 pounds bigger than me.  So I started trying to make it smaller.  Sadly I then wacked too much off the bottom.   To try to fix that I added a black band.  I took in the sides by an inch, cut off 6 inches in length from the sleeves and took them in an inch each too.  It is still big and now it just looks funny.  But, I still think this pattern has potential and might try again in a smaller size.  The knit worked better than the first one too.  If I hadn't damaged the bottom it might be wearable.
  The good news is that I'm half way through the Collette Meringue skirt and that is going MUCH better.  I hope to write about that later in the week.  I'm not counting the two above as finished because they aren't at this point.  Need to hem the sleeves on the black and white one and hem the bottom of the stripped one.  Not sure if it is worth the effort for either.
    Any tips for working with knits?  I could use them.

Sunday, January 1, 2012

Suprised Myself

    I actually did a complete sewing project today!  Unheard of.  A couple of months ago I found a piece of checked flannel in a thrift store for just a few dollars.  I knew immediately that I wanted to make them into comfy lounging pants (translation - pants only to be worn inside the house).  
     I choose McCall's 6252.  This morning I cut out a large which according to my measurements was what I needed.  I shortened the length of the pattern by four inches.  I had just the right amount of fabric, if I were a few inches taller it would not have been enough.  I got the length exactly right but they were huge in the waist, hip and leg.  I just sewed new side seams an inch in from the old ones and made the back crotch about a half inch smaller.  It took me about a total of four hours to make them but most of that was cutting the pattern and pieces and threading the elastic.  
  Terrible picture  - next time I'll get my husband to do the documenting.  
   I'll probably make these again but will cut down the pattern first.  Will also add pockets - that is all that is missing.  But for less than a day's work this was a great instant gratification project.